To achieve flawless, long-lasting red lipstick, prepare lips with exfoliation and hydration, choose shades suited to your skin tone, build depth with layering, blend edges for a seamless finish, set with tissue and balm, and touch up as needed throughout the day.
Unleash your inner glamour queen with the art of applying layers of red lipstick. This step-by-step guide takes you on a journey from understanding your lip texture to mastering seamless blending. Learn how to choose the perfect shade that complements your skin tone and build depth with base colors and liners. Discover final touches that ensure your look stays put all day, making every wear a statement.
- Understanding Your Lip Texture and Prepping the Canvas
- Choosing the Perfect Red Shade for Your Skin Tone
- Building Depth with a Base Color and Liners
- The Art of Blending for Seamless Application
- Final Touches and Maintaining Your Look Throughout the Day
Understanding Your Lip Texture and Prepping the Canvas
Before applying any red lipstick, it’s crucial to understand your lip texture. Like a painter preparing their canvas, you want to ensure your lips are in optimal condition for color application. Start by gently exfoliating your lips once or twice a week to remove dead skin cells and reveal smoother, softer tissue. This step is especially important if you have dry or chapped lips, as red lipstick can highlight these imperfections.
Next, prep your lips with a hydrating lip balm, allowing it to sink in for a few minutes. This creates a smooth base, ensuring the red lipstick glides on evenly and lasts longer. Avoid using a lip liner at this stage unless needed for precise shape definition; you want to maintain a natural canvas so that the vibrant pop of color from your red lipstick can truly shine through.
Choosing the Perfect Red Shade for Your Skin Tone
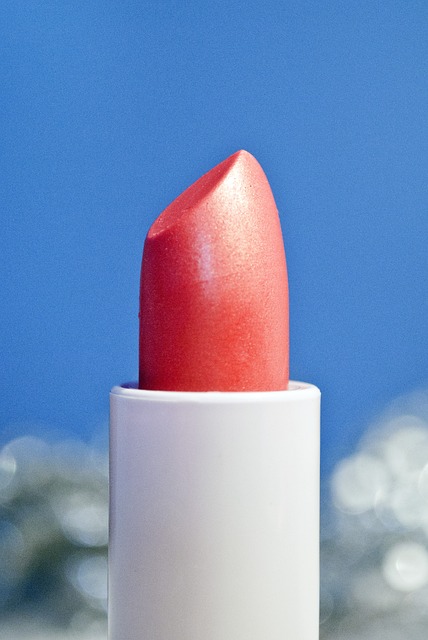
Finding the ideal red lipstick shade that complements your skin tone is a crucial step in achieving a stunning look. It’s all about balance and enhancing your natural beauty. To determine the perfect hue, consider your skin’s undertone—whether it leans towards yellow, olive, or pink. For warm skin tones, opt for rich, earthy reds with hints of orange or brown, as these shades will make your complexion sparkle. Cool-toned complexions look amazing in bright, vibrant reds that have a hint of blue, creating a striking contrast. Neutral skin tones are versatile and can pull off any red, from deep burgundies to true crimson.
When trying on different shades, apply them to the back of your hand and compare them to your lips under natural light. The right red lipstick will create a mesmerizing effect, making your lips appear fuller and more defined. Don’t be afraid to experiment; the perfect shade is the one that makes you feel confident and radiant!
Building Depth with a Base Color and Liners
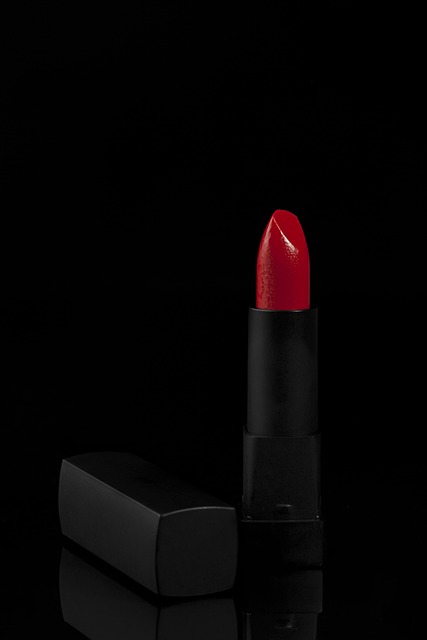
To create depth and dimension in your lip look, start by building a solid base with a neutral or subtle red lipstick. This base color should be applied evenly across the entire lip area, serving as a canvas for the subsequent layers. Think of it as the foundation of your makeup look, ensuring your lips appear fuller and more defined.
Once the base is set, use a darker shade of red lipstick or a liner to define the outer edges of your lips. This step adds contour and creates a sense of depth, making your lips appear more voluminous. By blending the liner into the base color gently with a makeup sponge or brush, you’ll achieve a seamless, layered effect that enhances the overall impact of your red lipstick.
The Art of Blending for Seamless Application
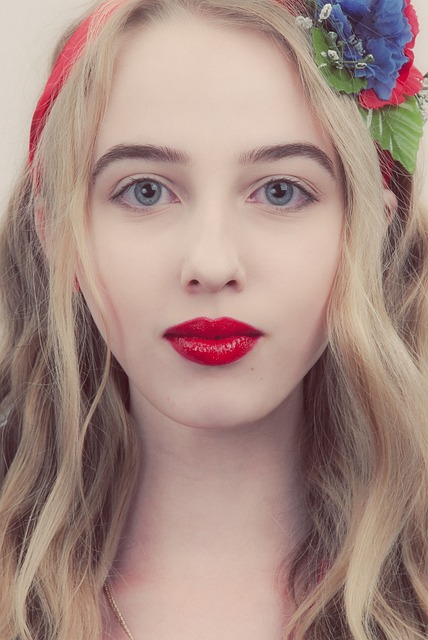
The key to achieving a flawless, long-lasting look with red lipstick lies in the art of blending. After applying your chosen shade, use a makeup sponge or a thin brush to soften the edges gently and blend across the lips. This technique ensures that the transition between your natural lip line and the applied color is seamless, creating a more natural and aesthetically pleasing effect.
Focus on the outer corners of your lips, where the color tends to look most stark, and blend upwards towards your cheeks for a subtle, gradual fade. This blending process helps to break up any lines or streaking caused by applying lipstick in a single, bold stroke, resulting in a smooth, dimensionless canvas upon which you can build layers of vibrant red lipstick.
Final Touches and Maintaining Your Look Throughout the Day

After achieving your desired color and finish with multiple layers of red lipstick, it’s time to add those final touches. Lightly blot your lips with a tissue or paper towel to set the lipstick, ensuring it stays in place for longer. A thin layer of clear lip balm or gloss can also help seal in the color and enhance the longevity of your look.
To maintain your vibrant red lipstick throughout the day, be mindful of eating and drinking. Avoid greasy foods and beverages as they can cause the lipstick to smudge or fade. Instead, opt for dry snacks like crackers or rice cakes. Regularly reapply the lipstick, especially after meals, to touch up any areas that may have worn off. A quick glance in the mirror and a fresh coat of your favorite red lipstick will help you look put-together and confident all day long.
Mastering the art of applying layers of red lipstick is a transformative skill. By understanding your lip texture, selecting the right shade, building depth with base colors and liners, blending seamlessly, and adding final touches, you can achieve a look that lasts all day. Experiment with these techniques to find your perfect application method and let your confidence radiate through vibrant, lasting hues of red lipstick.